


Undermount sinks are a staple in modern kitchen and bathroom designs, providing a sleek and seamless look. However, when it comes time to remodel, knowing how to remove an undermount sink properly is essential.
Whether you’re embarking on a DIY renovation adventure or collaborating with professional contractors, understanding the nuances of sink removal is crucial. This knowledge not only ensures the preservation of your countertop’s beauty but also paves the way for a successful renovation, one where every element aligns harmoniously. Learning how to remove an undermount sink is crucial for any kitchen or bathroom renovation project, ensuring a smooth transition during the remodeling process. This comprehensive guide will walk you through the process step by step, ensuring a smooth transition and preserving the integrity of your countertop and sink.
Understanding the Undermount Sink
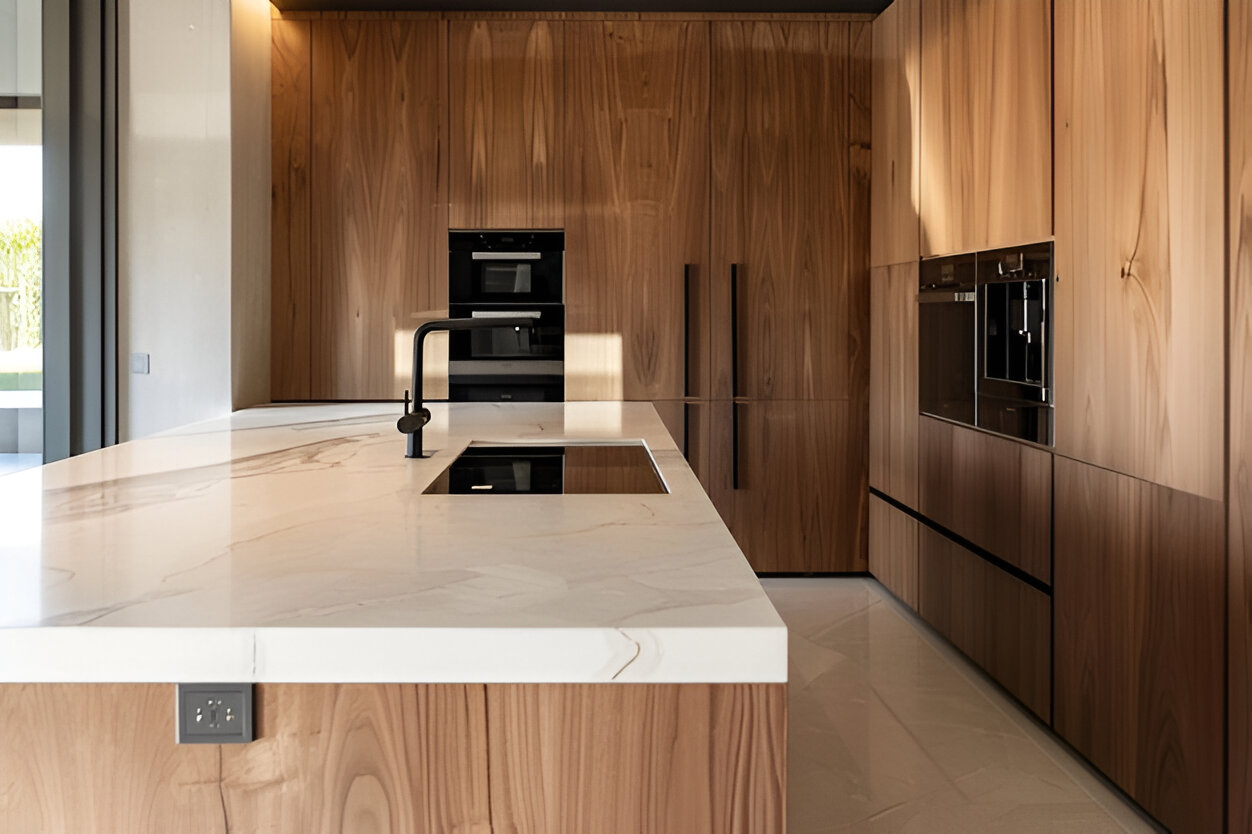
Undermount sinks, beloved for their aesthetic appeal, are installed beneath the countertop, creating a clean, uninterrupted surface. Unlike traditional top-mounted sinks, the undermount sink is installed beneath the countertop, creating a sleek and seamless look that enhances the overall aesthetics of the space. These sinks can be made from various materials, including stainless steel, porcelain, or composite materials, and their installation involves unique attachment methods beneath the countertop.
Tools and Materials to Remove Undermount Sink in Milwaukee, WI
Removing an undermount sink from granite requires precision and care to avoid damaging the stone surface; proper tools and a gentle touch are essential. Before you begin, gather the necessary tools and materials:
- Screwdriver
- Adjustable wrench
- Utility knife
- Putty knife
- Safety gloves and goggles
- Bucket and towels
- Cleaning supplies
Preparing for Removal
Before you roll up your sleeves and dive into the task of removing your undermount sink, careful preparation is key. Taking the time to set the stage properly ensures a smooth, stress-free removal process and minimizes the risk of any mishaps or damage. To remove undermount sinks from quartz, it’s important to use techniques that preserve the integrity of the quartz material, ensuring a clean removal without any chips or cracks. Here’s how to prepare like a pro in Milwaukee, WI:
- Turn Off Water Supply: Start by turning off the water supply valves under the sink and disconnecting the plumbing connections carefully.
- Clear the Cabinet: Remove all items from the cabinet under the sink, allowing clear access to the workspace.
- Safety First: Wear safety gloves and goggles to protect your hands and eyes during the removal process.
Step-by-Step Removal Process
Removing an undermount sink from the kitchen involves disconnecting plumbing, loosening clips, and cutting caulk, allowing for a seamless removal process and making way for a new sink installation. You can accomplish this task like a seasoned professional. Here’s a detailed step-by-step guide to help you navigate through the removal process with ease and precision:
Loosening the Sink Clips:
- Locate the sink clips attaching the sink to the countertop.
- Using a screwdriver, carefully loosen the clips to free the sink.
Cutting the Caulk Seal:
- Use a utility knife to cut through the caulk seal between the sink and the countertop.
- Take your time to ensure a clean cut without damaging the countertop surface.
Lifting and Removing the Sink:
- Gently lift the sink from the countertop, taking care not to force it.
- If resistance is felt, recheck for any remaining clips or caulk and remove them before continuing.
Tips to Remove Undermount Sink
To remove an undermount sink from the bathroom is vital for renovations and requires careful attention to detail and a steady hand. Revitalize your kitchen with the replacement of undermount sink and transform your space like a pro. To ensure a smooth removal process and avoid any potential hiccups, consider these additional tips:
- Inspect Thoroughly: Before you start the removal process, inspect the sink area carefully.
- Use a putty knife: A putty knife can help gently pry the sink from the countertop, minimizing the risk of damage.
- Protect Your Countertop: While removing the sink, place a soft cloth or a piece of cardboard between the sink and the countertop. This protective barrier acts as a cushion, preventing any accidental scratches or chips on the countertop surface.
- Clean Thoroughly: After removal, clean the area meticulously, removing any residual caulk or adhesive to prepare for the new sink installation.
- Consult a Professional if Needed: If you’re uncertain about any aspect of the removal process or if the sink seems unusually difficult to remove, don’t hesitate to consult a professional.
Care and Recommendations
When it comes to upgrading your kitchen or making repairs in Milwaukee, WI, knowing how to remove an undermount sink is a valuable skill. Follow these care and recommendations to ensure a professional and efficient removal process.
- Proper Preparation: Begin by turning off the water supply and disconnecting the plumbing beneath the sink. Clear the area around the sink to ensure a smooth and unobstructed workspace.
- Safety First: Prioritize safety by wearing protective gear such as gloves and safety glasses. This shields you from potential hazards during the process of removing an undermount sink.
- Tools of the Trade: Gather the necessary tools, including a utility knife, screwdriver, adjustable wrench, and a pry bar. Having the right tools on hand makes the process of removing an undermount sink more efficient.
- Release the Seal: Carefully cut the caulk seal around the edges of the sink with a utility knife. This helps in loosening the sink and facilitates a smoother removal process.
- Gradual and Controlled Lift: Use a pry bar to gently lift the undermount sink from its secured position. Gradual and controlled lifting ensures that you don’t damage the countertop during the removal process.
Conclusion
To remove or replace an undermount kitchen sink might seem daunting, but with the right tools, knowledge, and techniques, you can accomplish it like a pro. By following these steps, you can ensure a seamless removal process, preserving both your sink and countertop for the next phase of your kitchen or bathroom remodeling project. Approach the task with confidence, knowing that you have the expertise to handle it professionally and efficiently.
As you know how to replace undermount sink, experience unmatched expertise, personalized service, and exceptional quality with Badger Granite. Transform your home in Milwaukee, Wisconsin, with our exquisite countertop solutions. Contact us today to schedule a consultation and embark on your journey to a more beautiful living space.